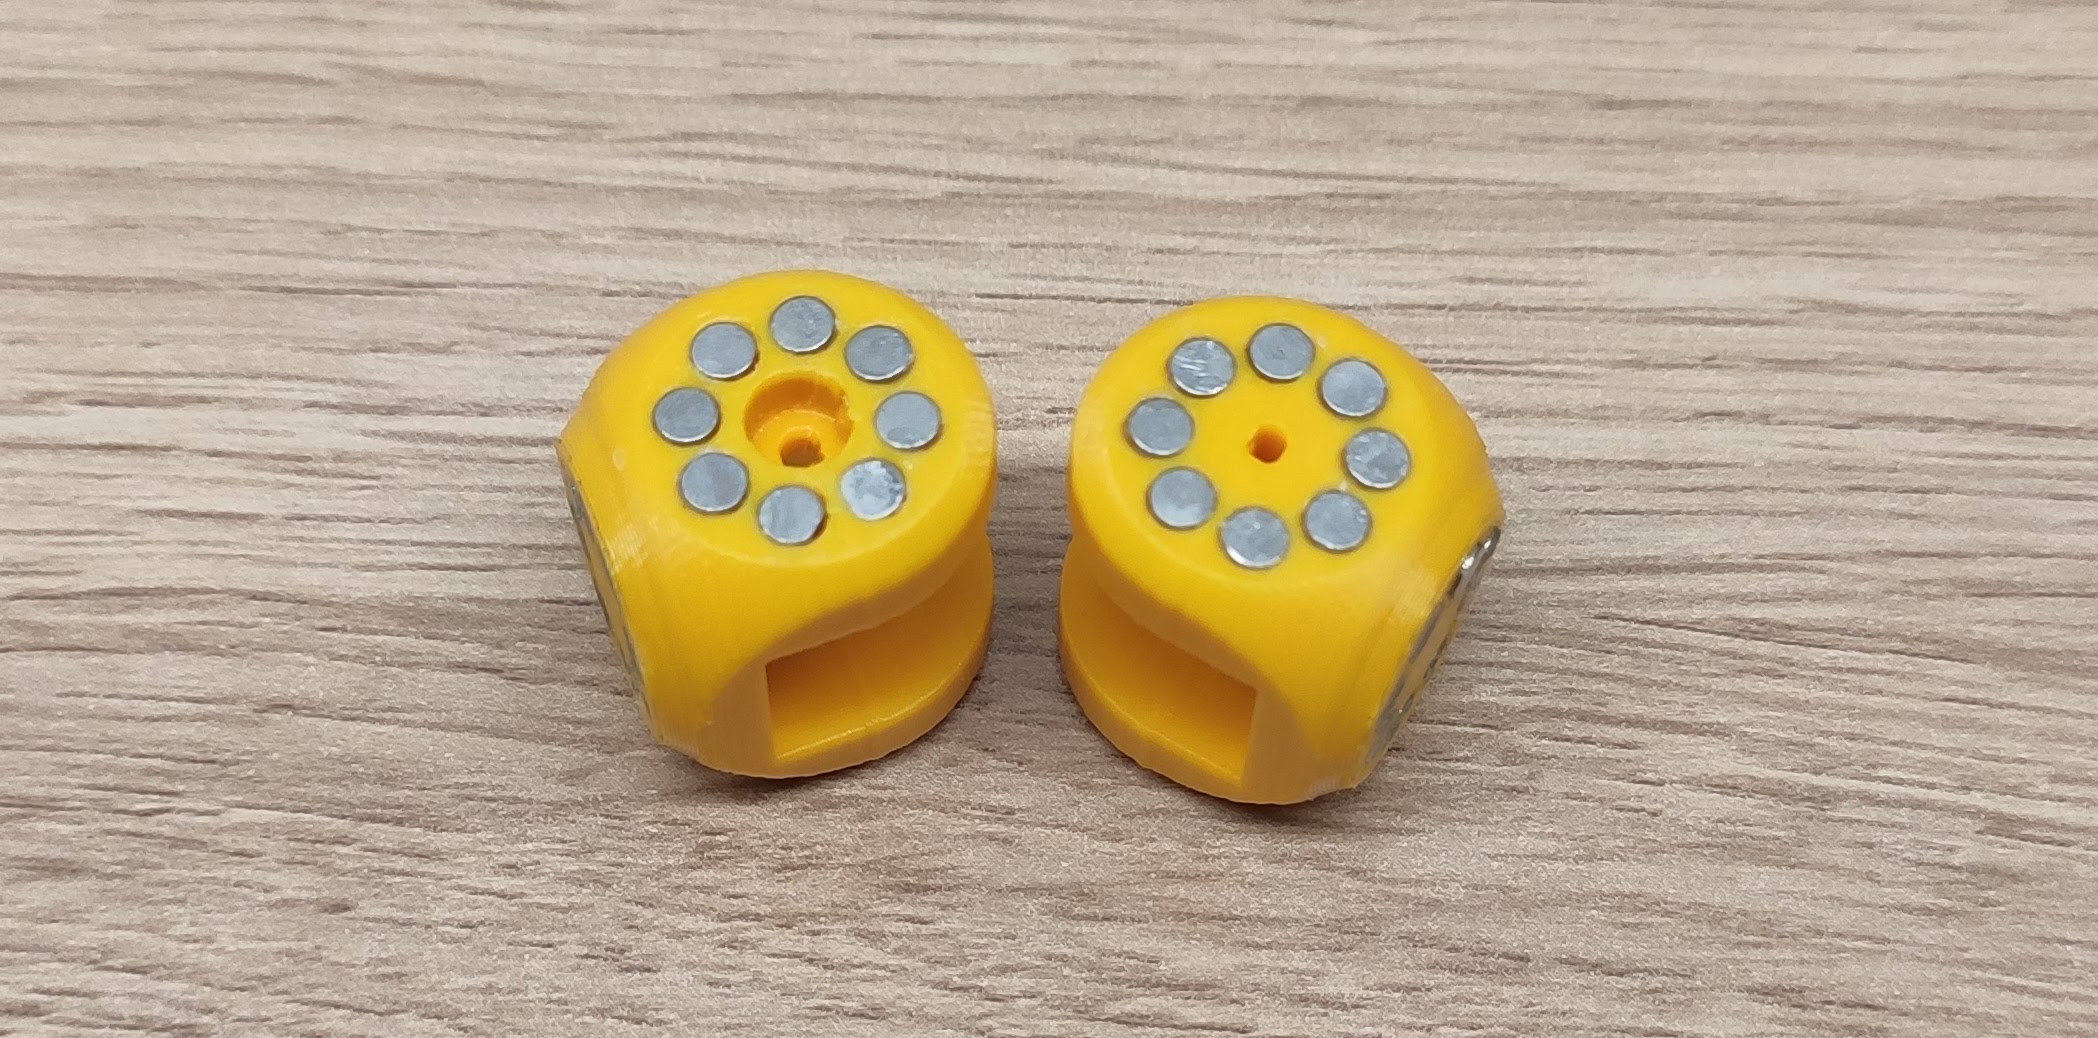
RoFI “Lego”

We provide a simple model of the universal module you can not only play with, but you can also use them to visualize and understand the capabilities of RoFIBots.

Building Your Own RoFI “Lego”

Source Files

We provide following STL files you can directly print using your 3D printer:

We printed them on Prusa i3 Mk3 with the default 0.15 mm Quality settings, with a first layer compensation of 0.3 mm.

You can also download the source Fusion 360 model.

Build Instructions
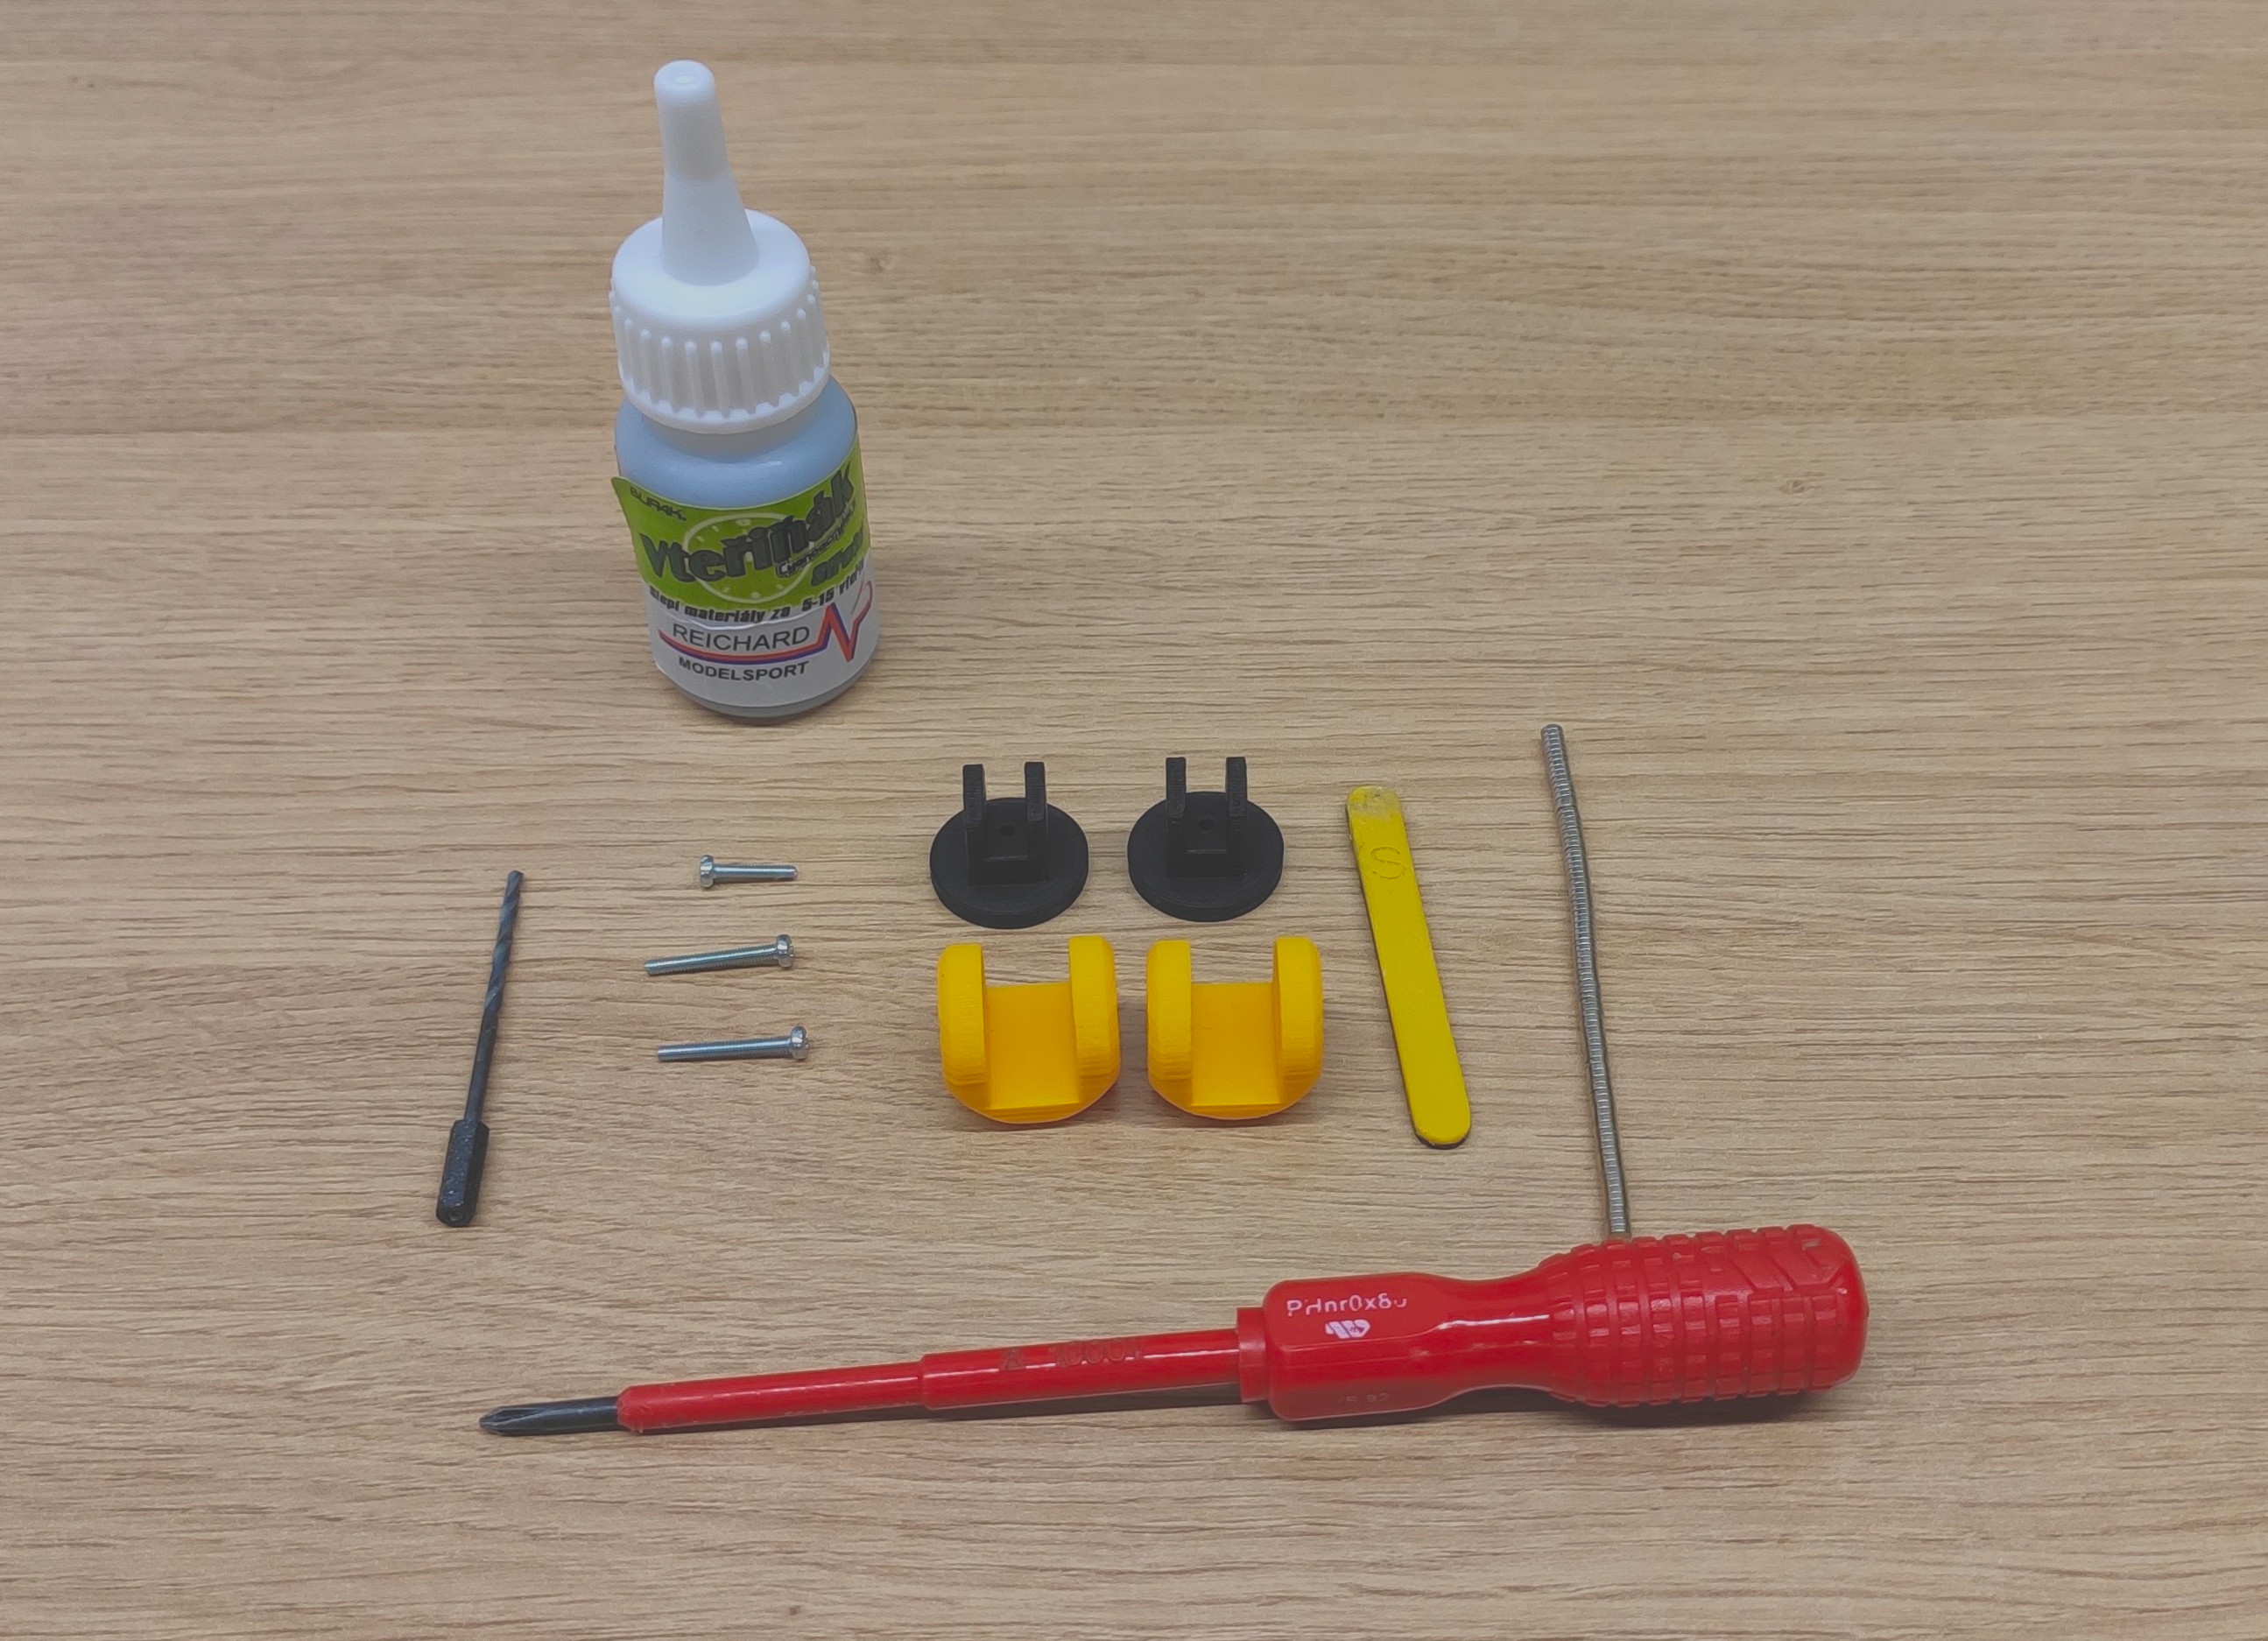
Prepare the 3D printed components, magnets 3x1 mm, screwdriver, super glue, 2 pieces of M2x16 screw, 1 piece of M2x10 screw, magnet stick and optionally 2mm drill bit.
Put 8 magnets on the table next to each other.
Put a drop of superglue into each hole for magnets on the shoe.
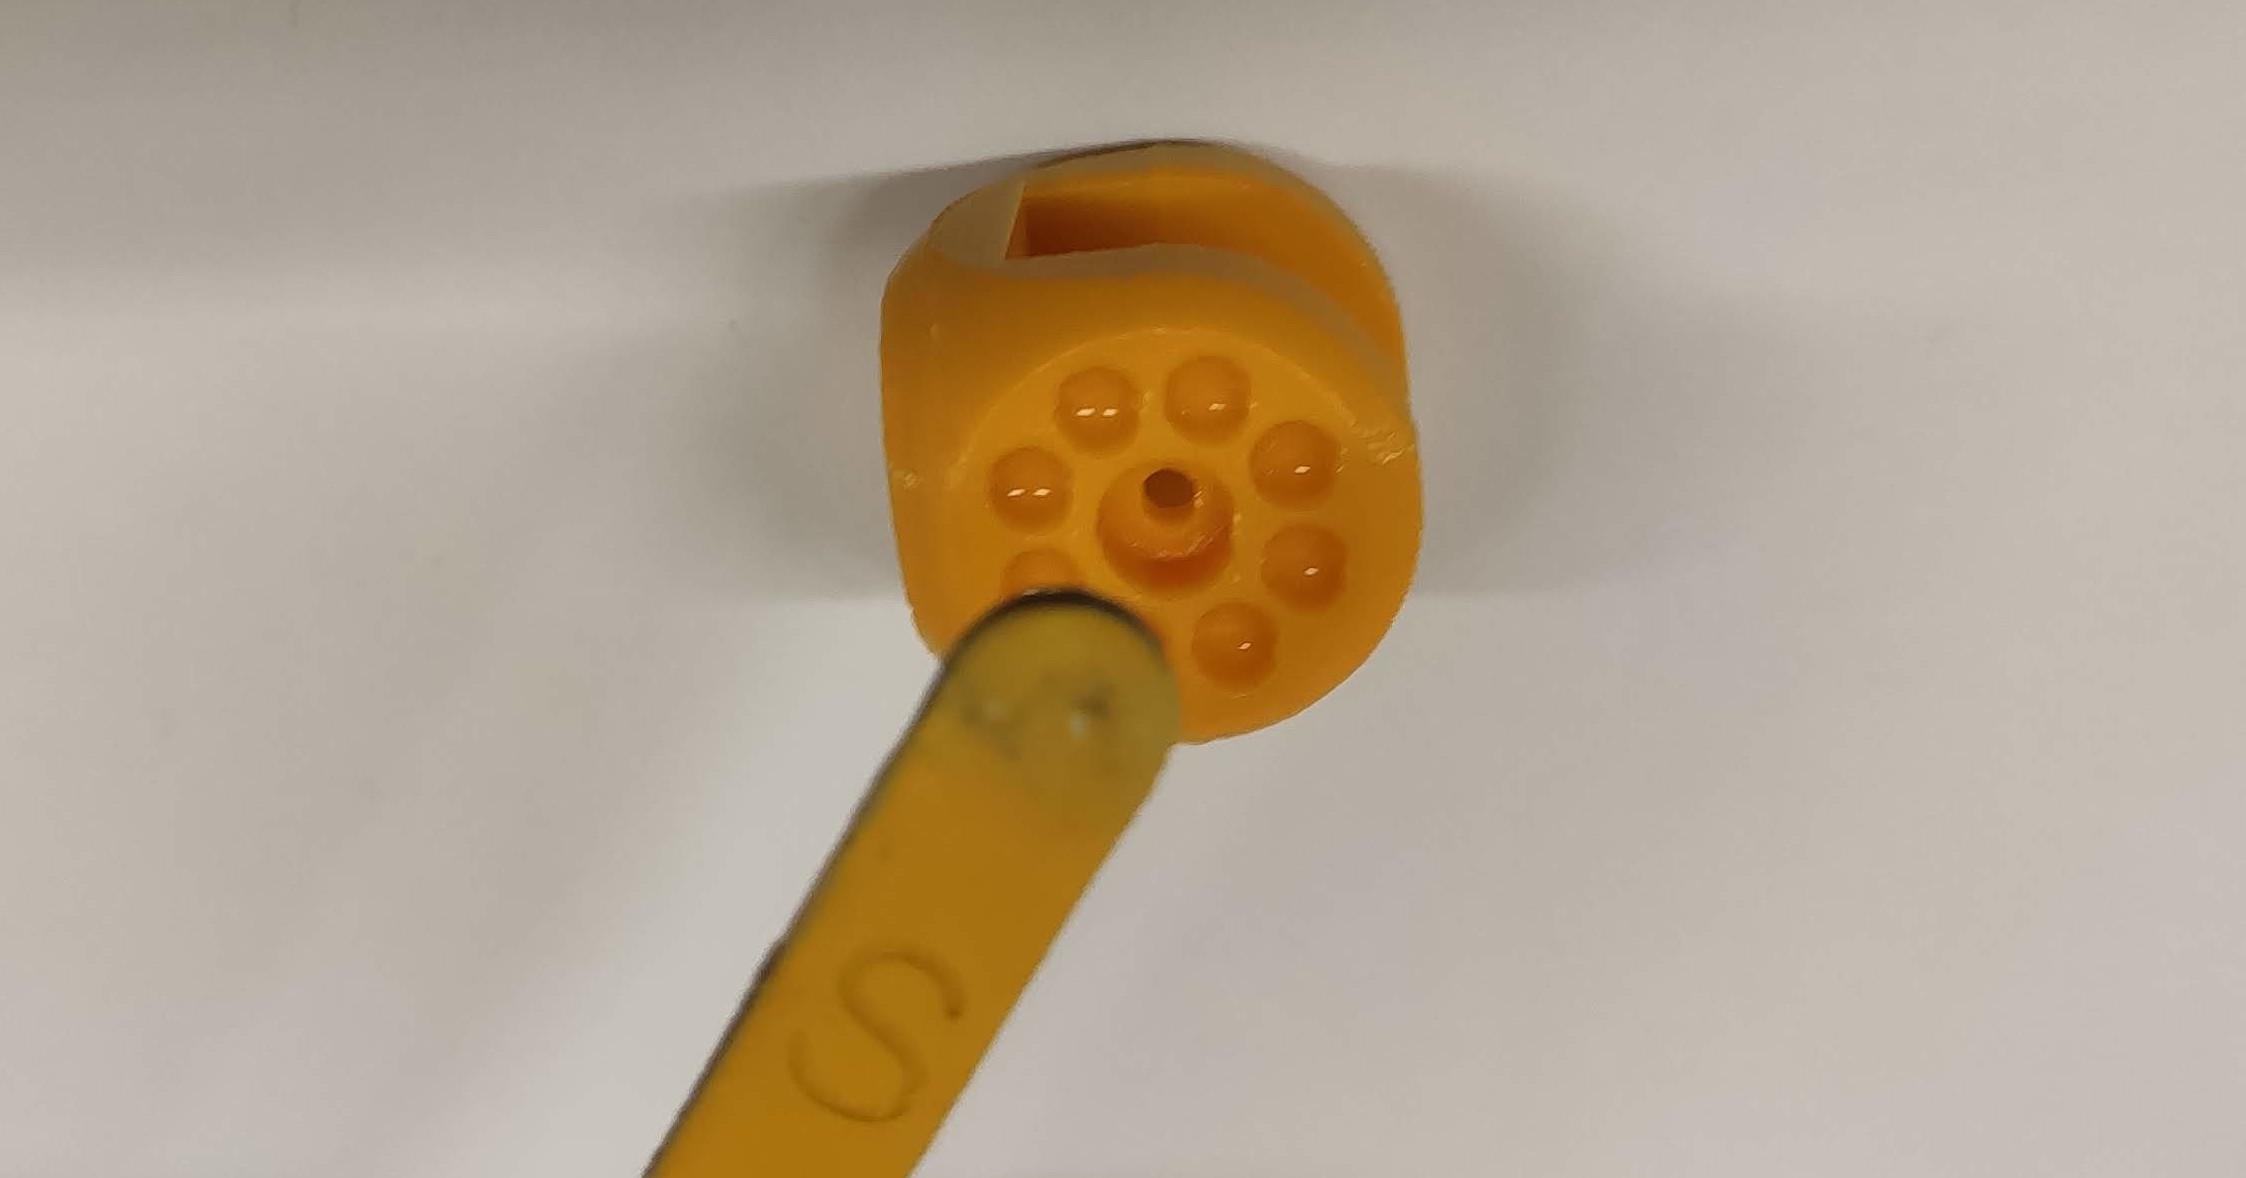
Use the magnet stick to pick up a magnet - you can use either the north or the south side of the stick.
Use the magnet stick to push the magnet in the corresponding holes to glue the magnet in place.
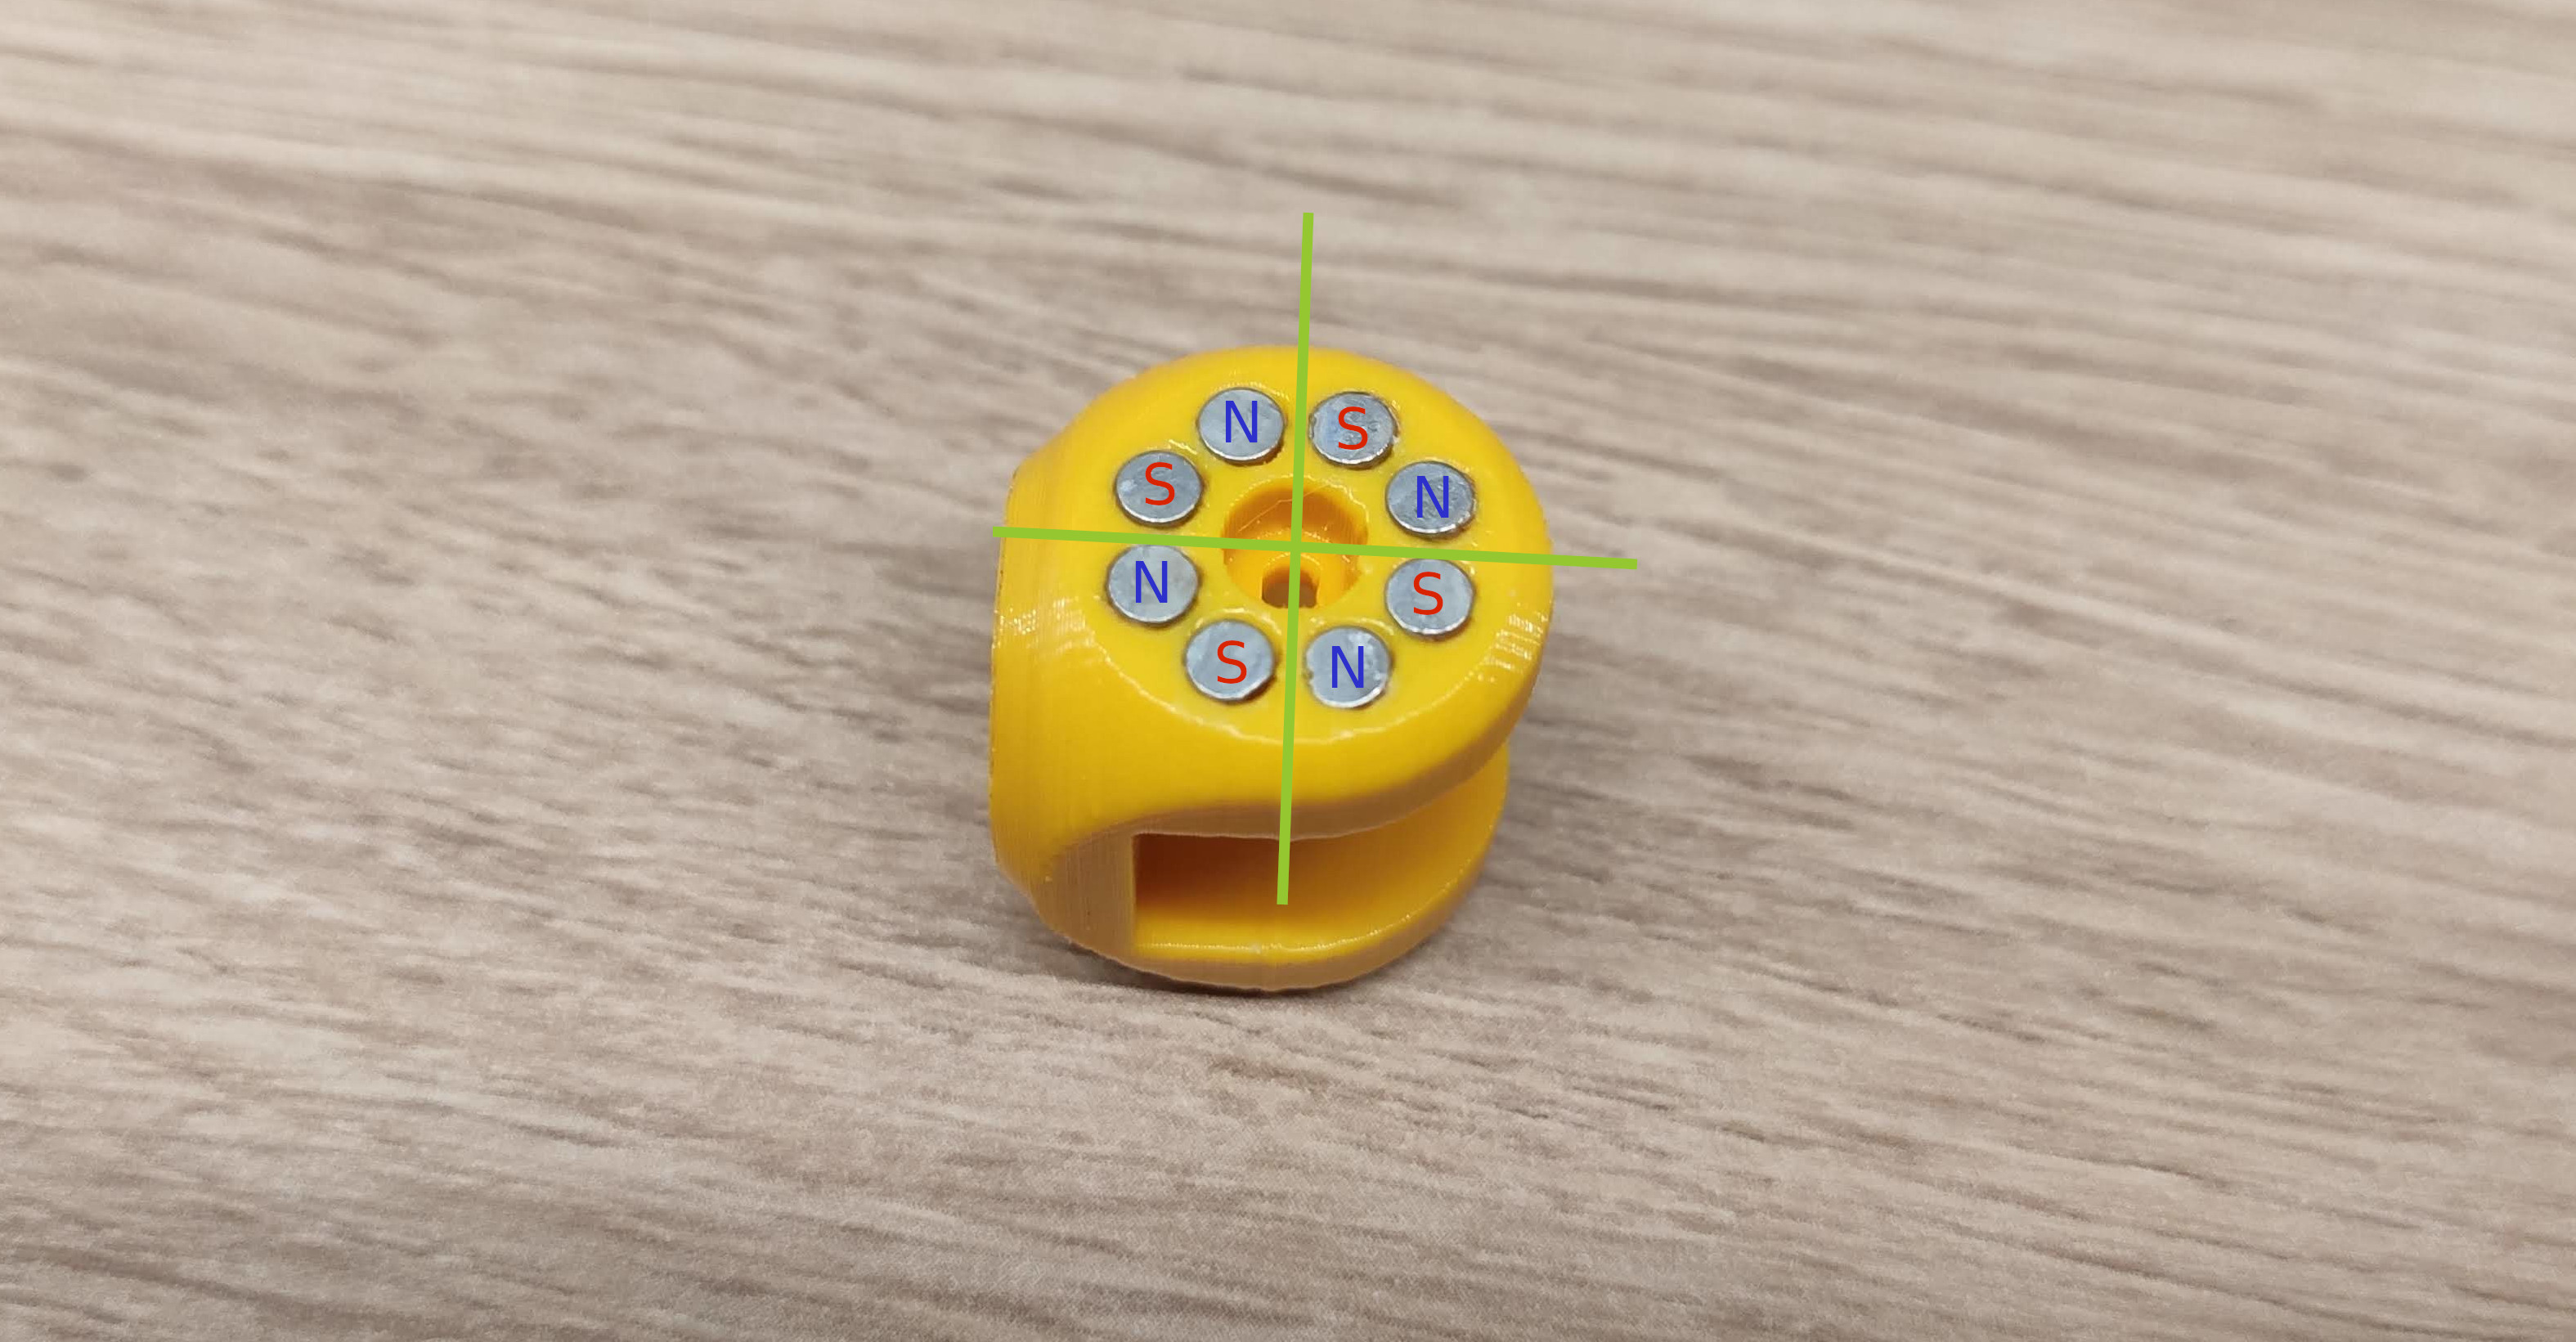
The magnets should be oriented as shown in the picture. The top side of the magnet stick determines the correct orientation.
Repeat the procedure on all sides of both shoes.
Optionally you can clean the 3D printed holes with 2mm drill bit. Caution: One side of the body has a smaller hole for the screw thread - do not enlarge the hole!
Use the M2x10 screw to connect the bodies. The screw should screw inside the body part with a smaller hole. Tighten the screw so the body parts can rotate.
Use the M2x16 screw to connect the shoe to the body.
Repeat for the other shoe

Similarly, glue the magnets into the connector pieces.